I figured it was time for me to make a new tutorial for you guys. I hope you like it.
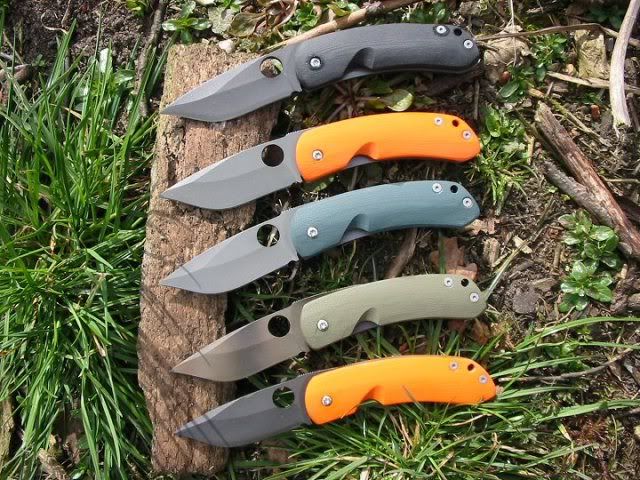
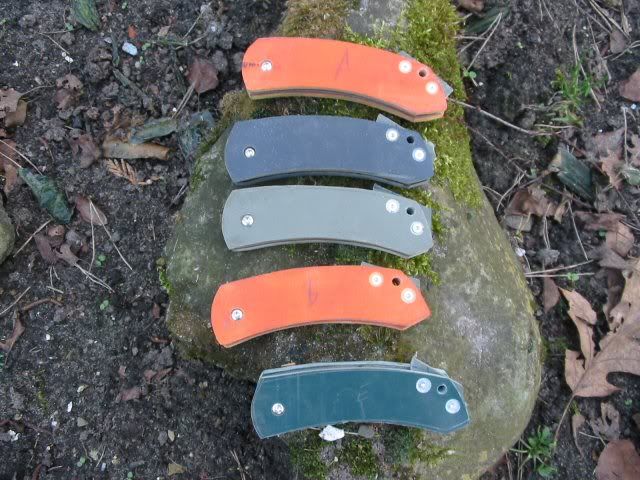
We'll be making these ones:
1. THE BLADE
---------------
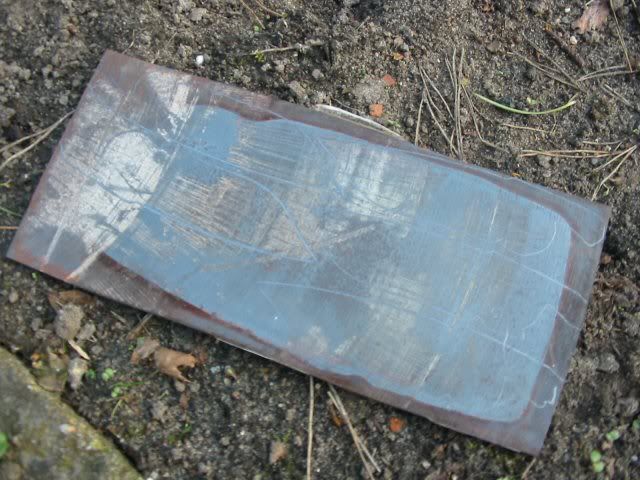
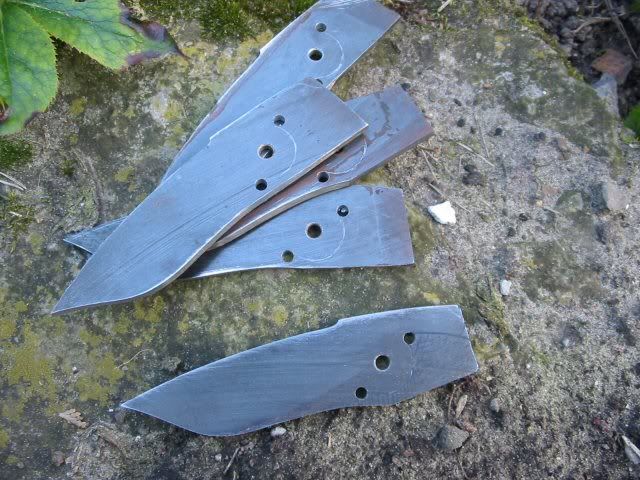
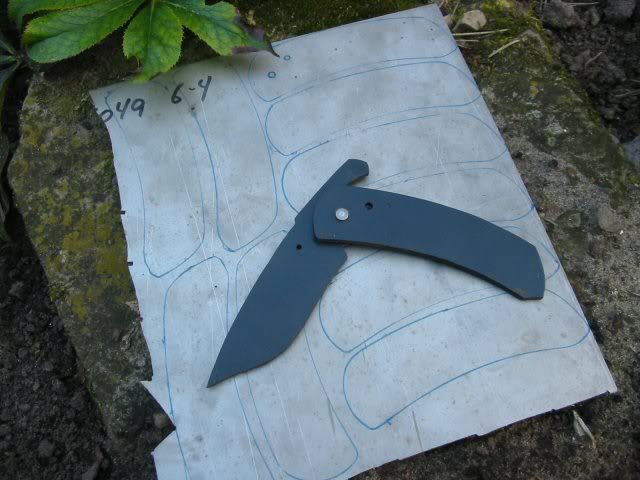
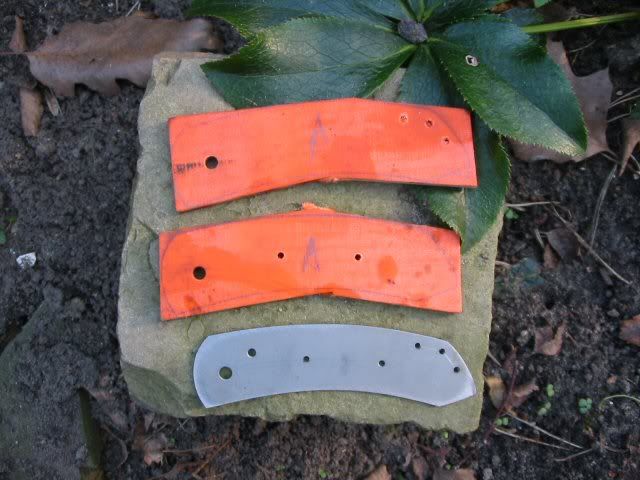
I got this piece of 75Cr1 from my buddy. It used to be a circular saw.
You can see the pattern of the blades drawn onto it with pencil. (lost my marker at the moment:D )
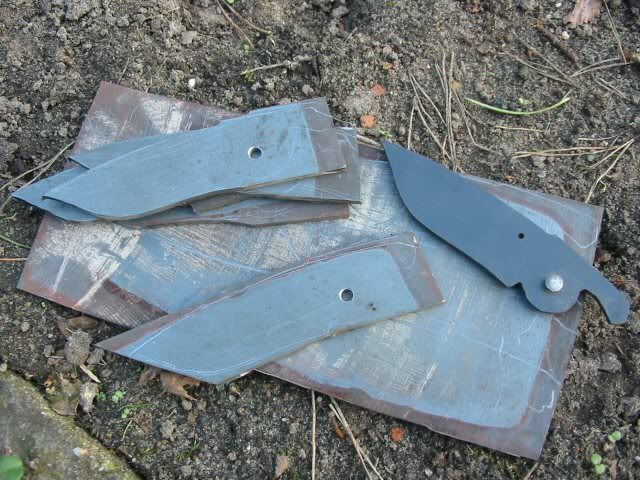
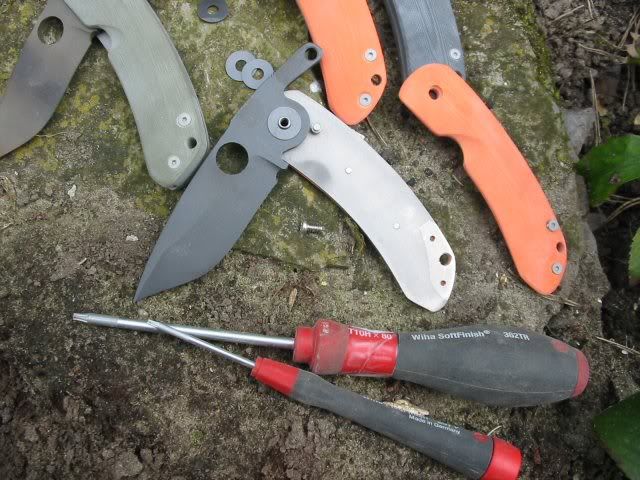
Use a hacksaw, angle grinder, bandsaw,… to cut out the blade. Don't worry about the pivot area. Just leave enough material there.
Also, drill the pivot hole. The black blade in the pic is my kydex rig.
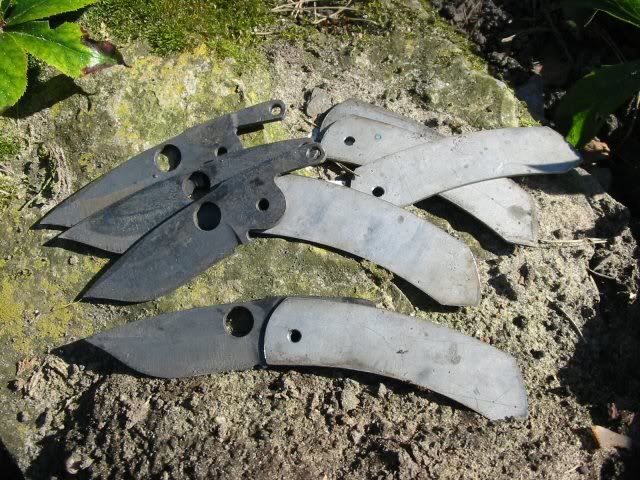
I use my kydex handle rig for this operation. On the bottom blade, you can see hole marks. I drilled them through the kydex rig. (you can see the hole in the rig. That's where the stop pin will be.)

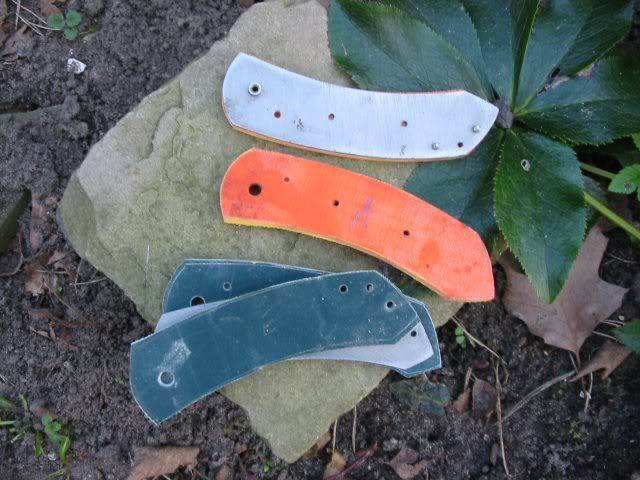
Close the 'knife' and drill the other hole through the kydex rig.
This way, you get the two hole marks on the blade.
You now can drill these holes at the correct place.
Notice the pencil mark around the pivot hole. (shown better in the next pic)
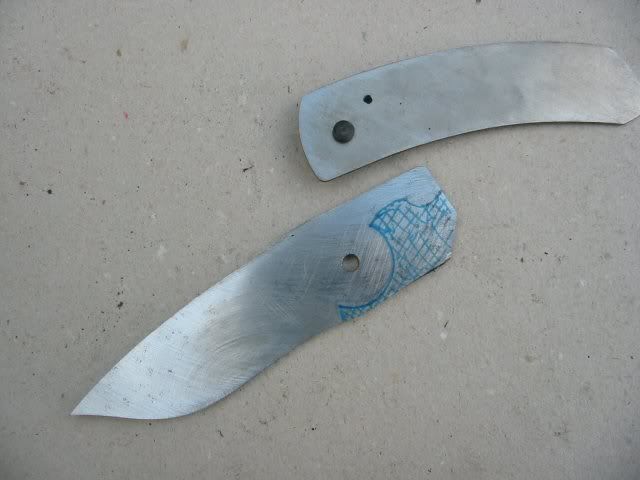
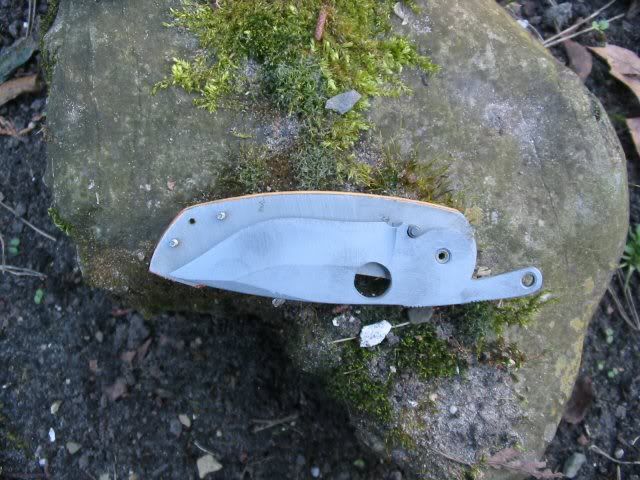
Here is an older pic of the same area. (in this pic I still had my marker:D )
The blue area will have to go. Again, use a grinder, files, anything...

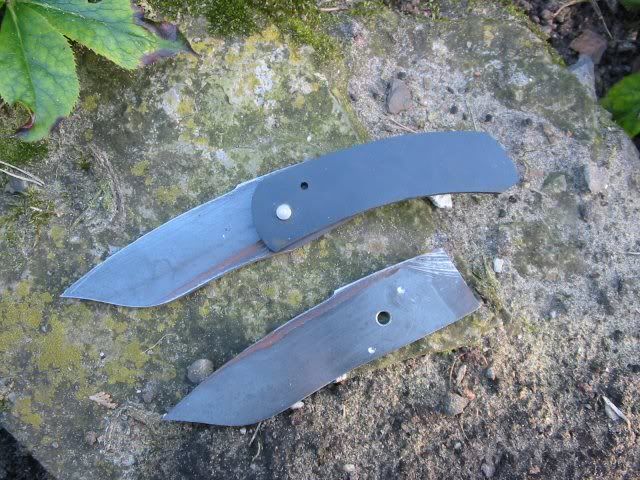
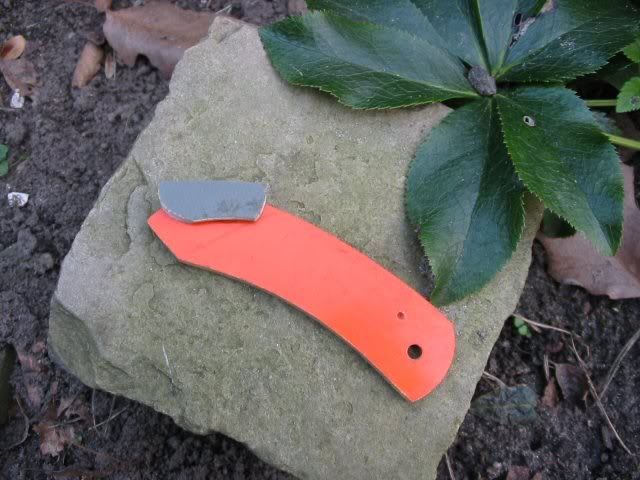
This is what we want. Your blade is almost ready.…. well, almost.…
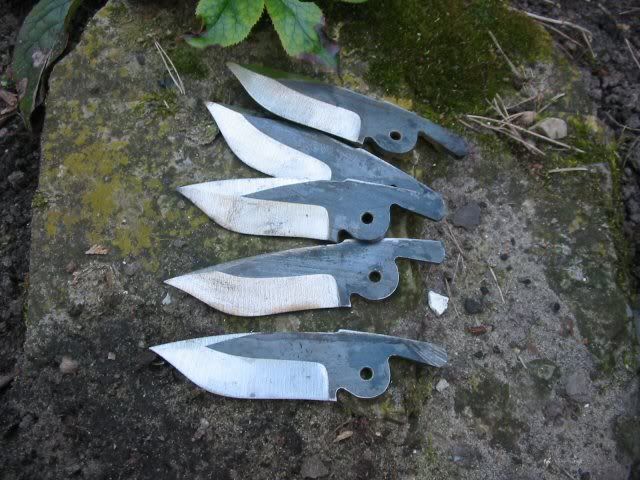
We just have to grind it...
Drill the opening hole and harden it...

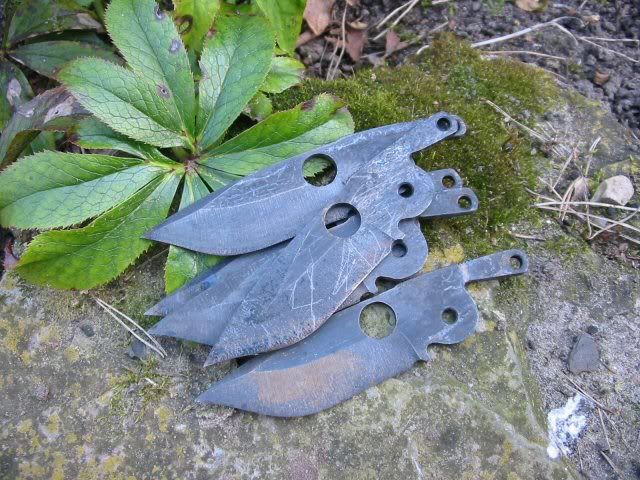
And beadblast it.
2. THE HANDLE
----------------
Okay, part two.
We start here with a sheet of 6-4 titanium. .049 thickness. (that's what I had available at the moment)
My kydex rig is also shown in the pic.
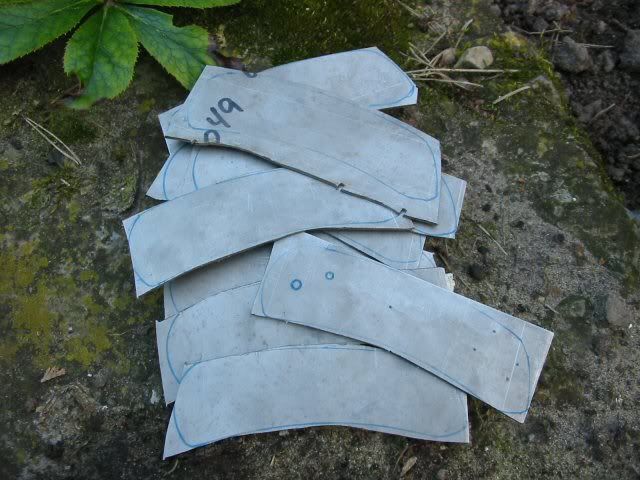
Cut out the shapes of the handle...
And clean them up a bit.
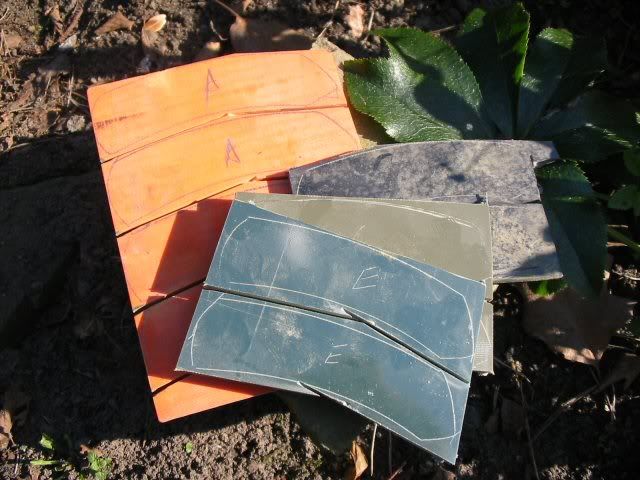
Handle material. Couple of sets of them.
Drill holes in the titanium liner and tap them for thread.
The pivot hole and the stop pin hole are transferred from the kydex rig.
The holes in the handle material match the holes in the titanium liner.
Two holes in the middel are for the backside handle material. And two holes in the top right corner will be used for the frontside handle material.
The middle hole in the right top corner will be used as lanyard hole. (it will be drilled bigger)
We match them up a bit.
Use the blade to see how much room you have for the spacer material.
About this much. The thickness of this material has to be the exact same thickness as the blade PLUS the two washers. (we'll see those later)
Screw the handles together like this. The spacer material is still way to big, but we can clean it up now.…
And we get these sandwiches...
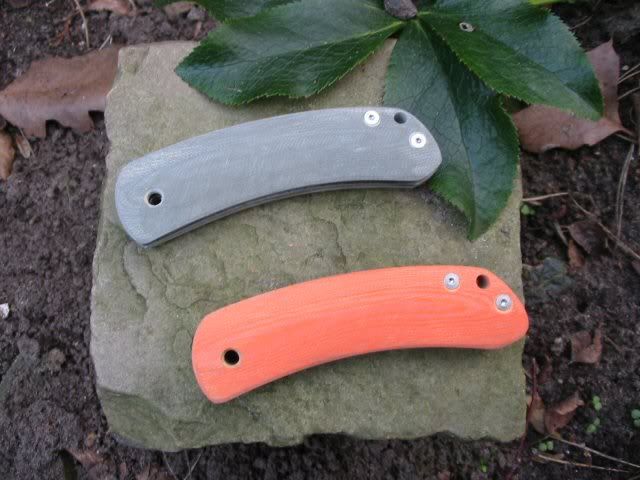
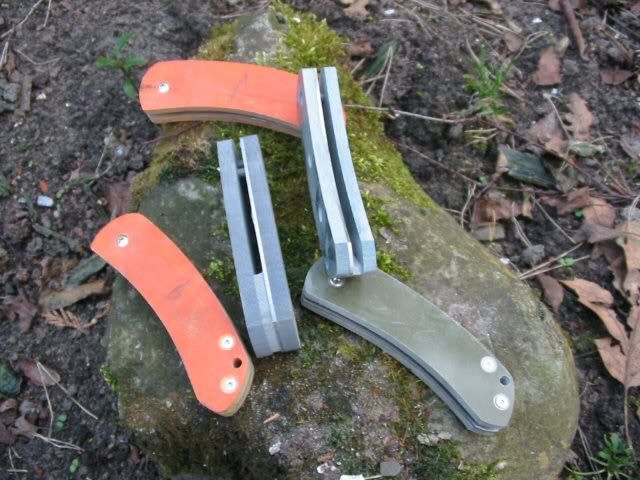
All we have to do now is to round off the sandwiches. And we get this.
Final installment of the knife. You can see the washers. These prevent the blade to scratch agains the handle material.
I also gunkoted the blades, for protection against corrosion.
After a little loving with WD40 and a sharpening session, this is what the blades look like.